· 7 min read
Can You Enhance Your Discord Experience with Insight Face Swap?
Explore how the Insight Face Swap feature on Discord can enhance your communication and interactions with friends offering a fun and engaging way to personalize your online presence
Can You Enhance Your Discord Experience with Insight Face Swap?
Prerequisites and System Requirements
Hardware requirements
The Insight Face Swap Discord server has specific hardware requirements to ensure optimal performance and successful face swapping. The minimum system specifications include:
- Processor: Intel Core i5 or equivalent
- RAM: 8 GB or higher
- Graphics card: NVIDIA GeForce GTX 1060 or AMD Radeon RX 580 or better
- Storage: 50 GB of available storage space
For the best experience and faster processing times, it’s recommended to have the following system specifications:
- Processor: Intel Core i7 or AMD Ryzen 5 or higher
- RAM: 16 GB or more
- Graphics card: NVIDIA GeForce RTX 2060 or AMD Radeon RX 5700 XT or better
- Storage: 100 GB of available storage space
Software requirements
In addition to the hardware requirements, Insight Face Swap Discord also has specific software requirements. The supported operating systems for using the face swap feature are:
- Windows 10 or later
- macOS 10.15 (Catalina) or later
- Ubuntu 18.04 or later
To use Insight Face Swap Discord, you will need to have the following software installed:
- Discord client (available for Windows, macOS, and Linux)
- Any image editing software (e.g., GIMP, Photoshop, or Affinity Photo) for optional image adjustments
Signing up and Joining Insight Face Swap Discord
Creating a Discord account
If you don’t already have a Discord account, you’ll need to create one. You can do this by visiting the Discord website (https://discord.com/) and clicking on the “Open Discord” button. Follow the on-screen instructions to set up your account.
Joining the Insight Face Swap Discord server
Once you have a Discord account, you can join the Insight Face Swap Discord server. You can do this by clicking on the ”+” icon in the left-hand sidebar of the Discord client and selecting “Join a Server.” Then, enter the invite link or server name for the Insight Face Swap Discord server.
Navigating the server and finding the relevant channels
After joining the Insight Face Swap Discord server, you’ll need to familiarize yourself with the server’s layout and find the channels relevant to the Face Swap process. Look for channels labeled “face-swap,” “image-uploads,” or similar, as these will be the primary channels for submitting your images and monitoring the Face Swap progress.
Understanding the Face Swap Process
Explanation of the face swap concept
The Face Swap feature in Insight Face Swap Discord allows you to swap the faces of two individuals in a pair of images. This can be useful for a variety of creative and entertainment purposes, such as creating humorous or surreal images, experimenting with different facial combinations, or even exploring identity-related themes.
Overview of the steps involved in the face swap process
The basic steps involved in the Face Swap process are as follows:
- Obtain suitable source images for the face swap.
- Upload the images to the designated channels in the Insight Face Swap Discord server.
- Submit the images for processing and wait for the Face Swap to be completed.
- Download the swapped images and review the results.
Preparing Your Images
Obtaining suitable source images
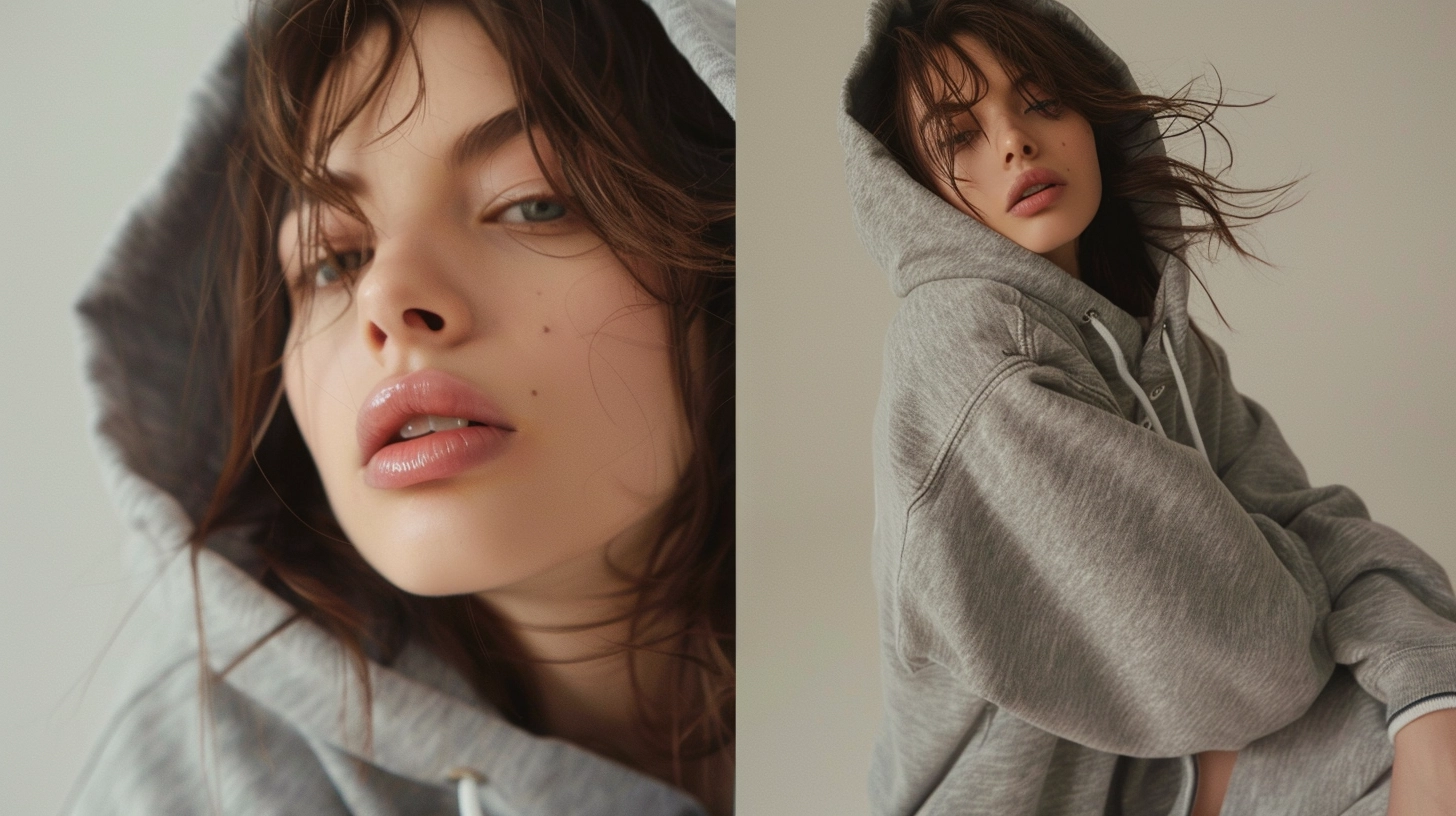
When selecting images for the Face Swap, it’s important to consider the quality and resolution of the images. Ideally, you should use high-quality, well-lit images with clear, frontal-facing facial features. Avoid using images with excessive noise, blur, or unusual angles, as these may negatively impact the accuracy of the Face Swap.
Uploading your images to the Discord server
Once you have your source images ready, you can upload them to the appropriate channels in the Insight Face Swap Discord server. Look for channels labeled “image-uploads” or similar, and follow the instructions provided in the channel descriptions for the correct file format and size requirements.
Initiating the Face Swap
Selecting the source and target images
After uploading your images, you’ll need to select the source and target images for the Face Swap. This typically involves identifying the two individuals whose faces you want to swap.
Submitting the images for processing
Once you’ve selected the source and target images, you can submit them for processing by the Insight Face Swap Discord bot. Follow the instructions provided in the relevant channels to initiate the Face Swap request.
Understanding the queue system and wait times
The Insight Face Swap Discord server uses a queue system to manage the processing of Face Swap requests. Depending on the current workload and the number of users submitting requests, you may need to wait for your turn before your Face Swap is processed. Be patient and monitor the status of your request in the designated channels.
Monitoring the Face Swap Progress
Checking the status of your face swap request
After submitting your Face Swap request, you can monitor the progress of your request by checking the relevant channels in the Insight Face Swap Discord server. Look for updates and notifications from the bot regarding the status of your request.
Receiving notifications about the completion of your request
When your Face Swap request has been processed, you’ll receive a notification in the designated channel. This notification will inform you that your swapped images are ready for download.
Downloading and Inspecting the Swapped Images
Locating the completed face swap in the designated channel
After receiving the notification that your Face Swap request has been completed, you can find the swapped images in the channel specified in the notification.
Downloading the swapped images
Once you’ve located the swapped images, you can download them to your local device for further inspection and use.
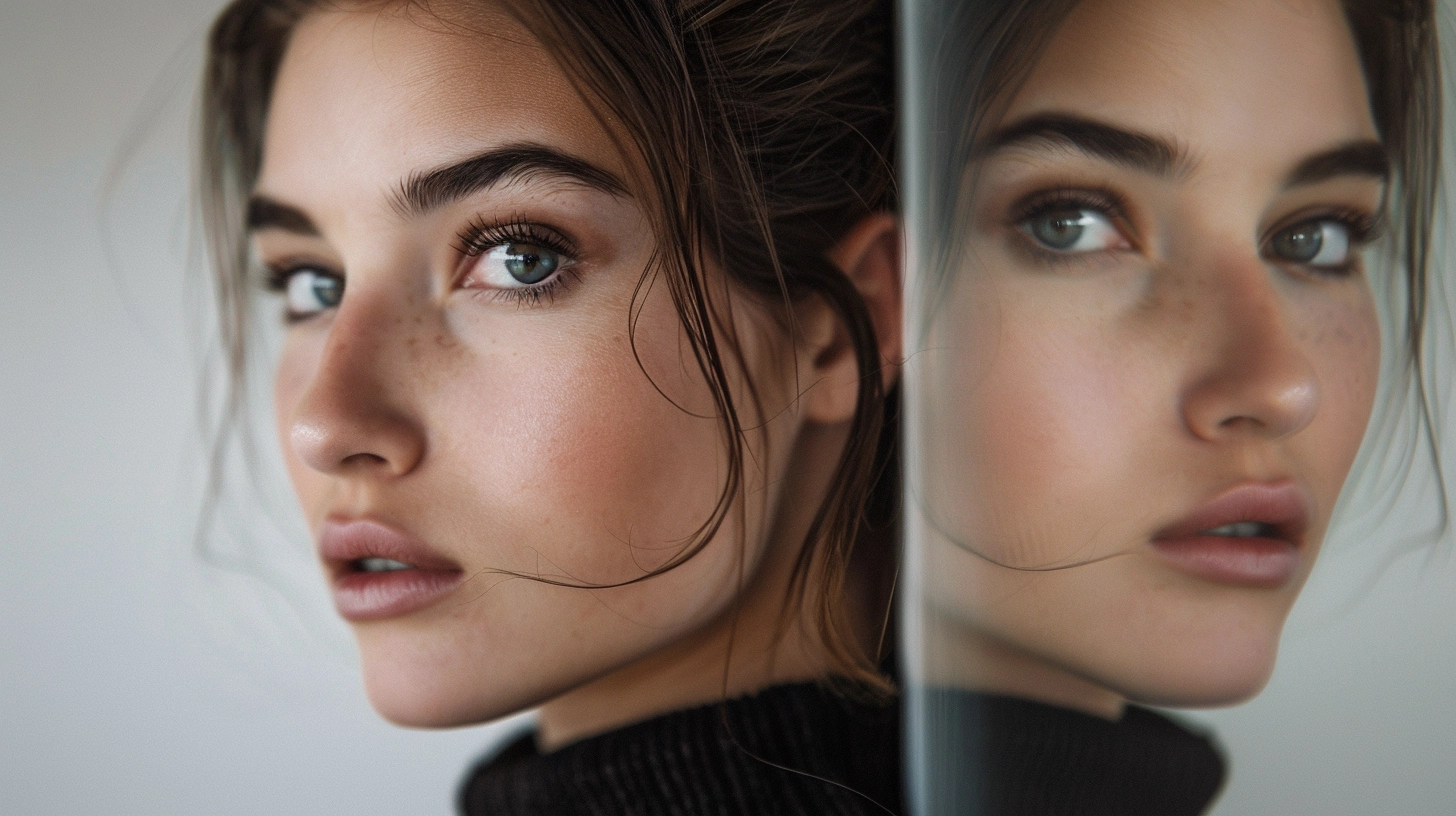
Reviewing the quality and accuracy of the face swap
Take some time to carefully review the swapped images, checking for the accuracy of the face swap and the overall quality of the results. Assess whether the facial features have been successfully transferred and if the final image looks natural and convincing.
Step 5: Blend the Face Swap
Blending the Swapped Faces
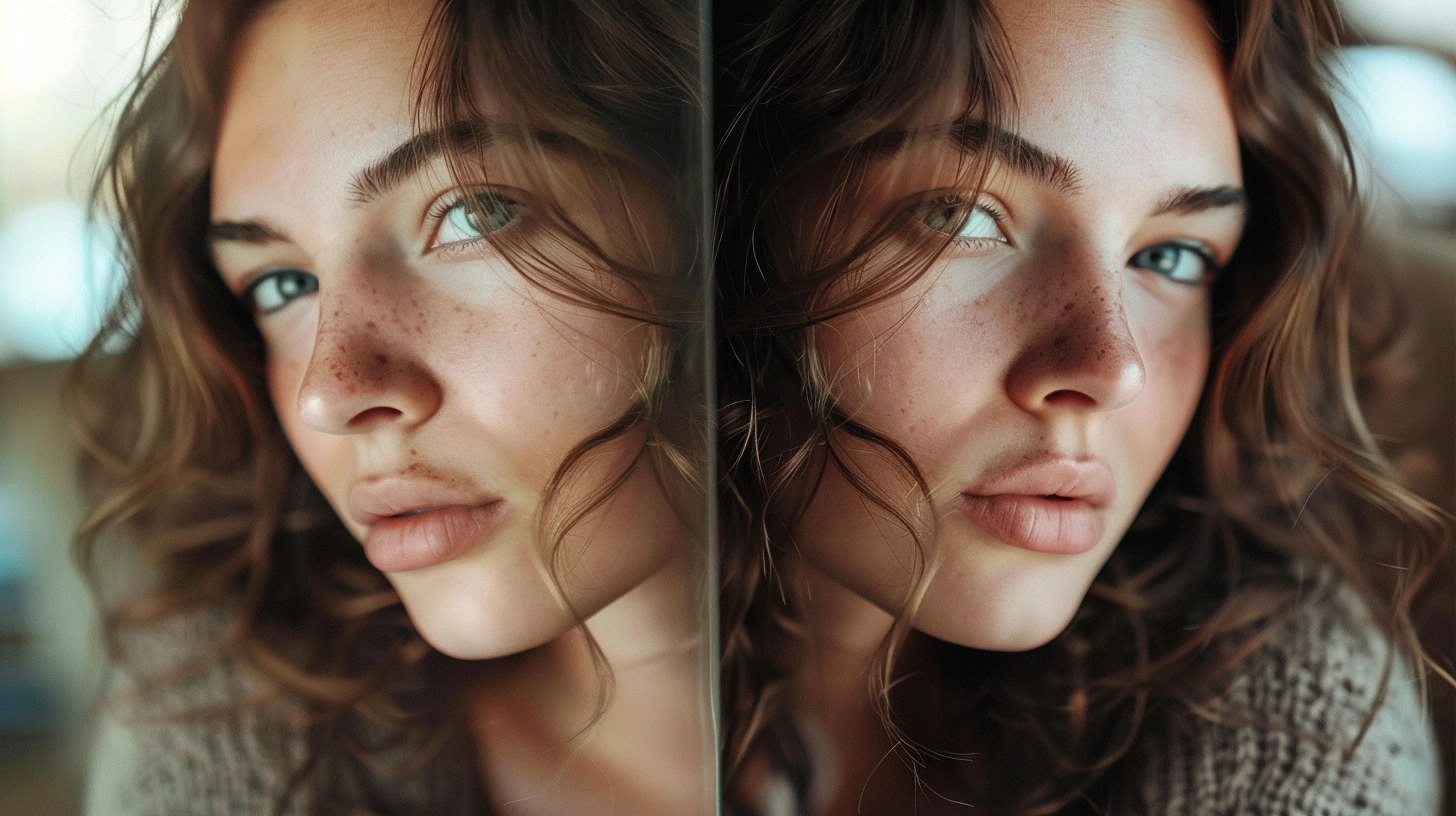
Now that you have the two faces aligned and positioned correctly, it’s time to blend them together seamlessly. This step is crucial to creating a natural-looking Face Swap.
Start by creating a layer mask on the top layer (the face you want to swap in). Use a soft-edged brush to gradually blend the edges of the swapped face into the original image. Adjust the opacity of the layer mask as needed to achieve a smooth transition.
Refine the Face Swap
Examine the blended result closely and make any necessary adjustments. You may need to fine-tune the positioning, scale, or rotation of the swapped face to ensure it looks natural. Additionally, consider adjusting the lighting, shadows, and color balance to match the original image.
Finalize the Face Swap
Once you’re satisfied with the blending and refinement, you can finalize the Face Swap. Flatten the layers and make any final tweaks to the overall image. This may include adjusting the contrast, sharpness, or applying any additional filters or effects to polish the final result.
Step 6: Evaluate and Refine the Face Swap
Review the Face Swap
Take a step back and critically examine the Face Swap you’ve created. Ask yourself the following questions:
- Does the swapped face look natural and seamless?
- Does the lighting and color match the original image?
- Are there any visible edges or artifacts around the swapped face?
- Does the overall composition and balance of the image look natural?
Make Adjustments as Needed
If you identify any areas that need improvement, don’t hesitate to go back and make the necessary adjustments. This may involve revisiting the previous steps, such as re-aligning the face, refining the blending, or making further refinements to the lighting and color.
Evaluate the Final Result
Once you’re satisfied with the Face Swap, take a final look at the image. Ensure that the swapped face blends seamlessly with the original image and that the overall result is natural and convincing.
Step 7: Save and Share the Face Swap
Export the Final Image
After completing the Face Swap, it’s time to export the final image. Depending on your intended use, you may want to export the image in a high-quality format, such as JPEG or PNG, with the appropriate resolution and file size.
Share the Face Swap
If you’re happy with the final result, consider sharing your Face Swap with others. You can share it on social media platforms, online forums, or even use it as part of a creative project. Remember to credit the original image sources if applicable.
Conclusion
Congratulations! You’ve successfully completed a Face Swap using image editing software. This technique can be a fun and creative way to experiment with portraiture and digital manipulation. Remember to always use this skill responsibly and with the consent of the individuals involved.